How to Remove Old Sealer from Concrete Before Reapplying
If you’re noticing that your concrete surfaces look dull or discolored, or that they no longer repel moisture as effectively, it might be time to reapply a concrete sealer. However, before you put down a fresh coat, it’s crucial to properly remove the old, worn-out sealer. Reapplying sealer over the old layer can trap dirt, cause uneven application, and reduce the new sealer’s effectiveness.
Here’s a step-by-step guide to help you effectively remove old sealer from your concrete surfaces before reapplying, ensuring a smooth, long-lasting finish.
Why Removing Old Sealer is Important
Old sealers can break down over time due to exposure to the elements, heavy foot traffic, or vehicle use. When the sealer starts to wear, it not only affects the appearance of the concrete but also reduces its protective capabilities. Removing the old sealer helps:
- Ensure Proper Adhesion: New sealer adheres better to clean, unsealed concrete, enhancing its protective power.
- Prevent Surface Damage: Built-up layers of sealer can crack and peel, damaging the concrete underneath.
- Improve Aesthetic Appeal: Removing old sealer ensures an even, attractive finish that enhances the concrete’s natural look.
Step-by-Step Guide to Removing Old Concrete Sealer
Step 1: Determine the Type of Sealer
There are two main types of sealers commonly used on concrete surfaces:
- Film-forming sealers (acrylic, epoxy, polyurethane): These create a protective layer on top of the concrete and can often be identified by their glossy or matte finish.
- Penetrating sealers (silane, siloxane): These sealers penetrate below the surface to provide a barrier against moisture and staining.
Knowing the type of sealer you’re dealing with is crucial, as different removal methods apply.
Step 2: Choose the Right Removal Method
Depending on the type of sealer, there are several ways to remove it:
- Chemical Strippers: These are specially formulated solutions designed to break down old sealer. They work best for removing film-forming sealers but can also be used on some types of penetrating sealers.
- Power Washing: For lighter sealers, a high-powered washer (around 3000 PSI) can effectively strip off the sealer without chemicals.
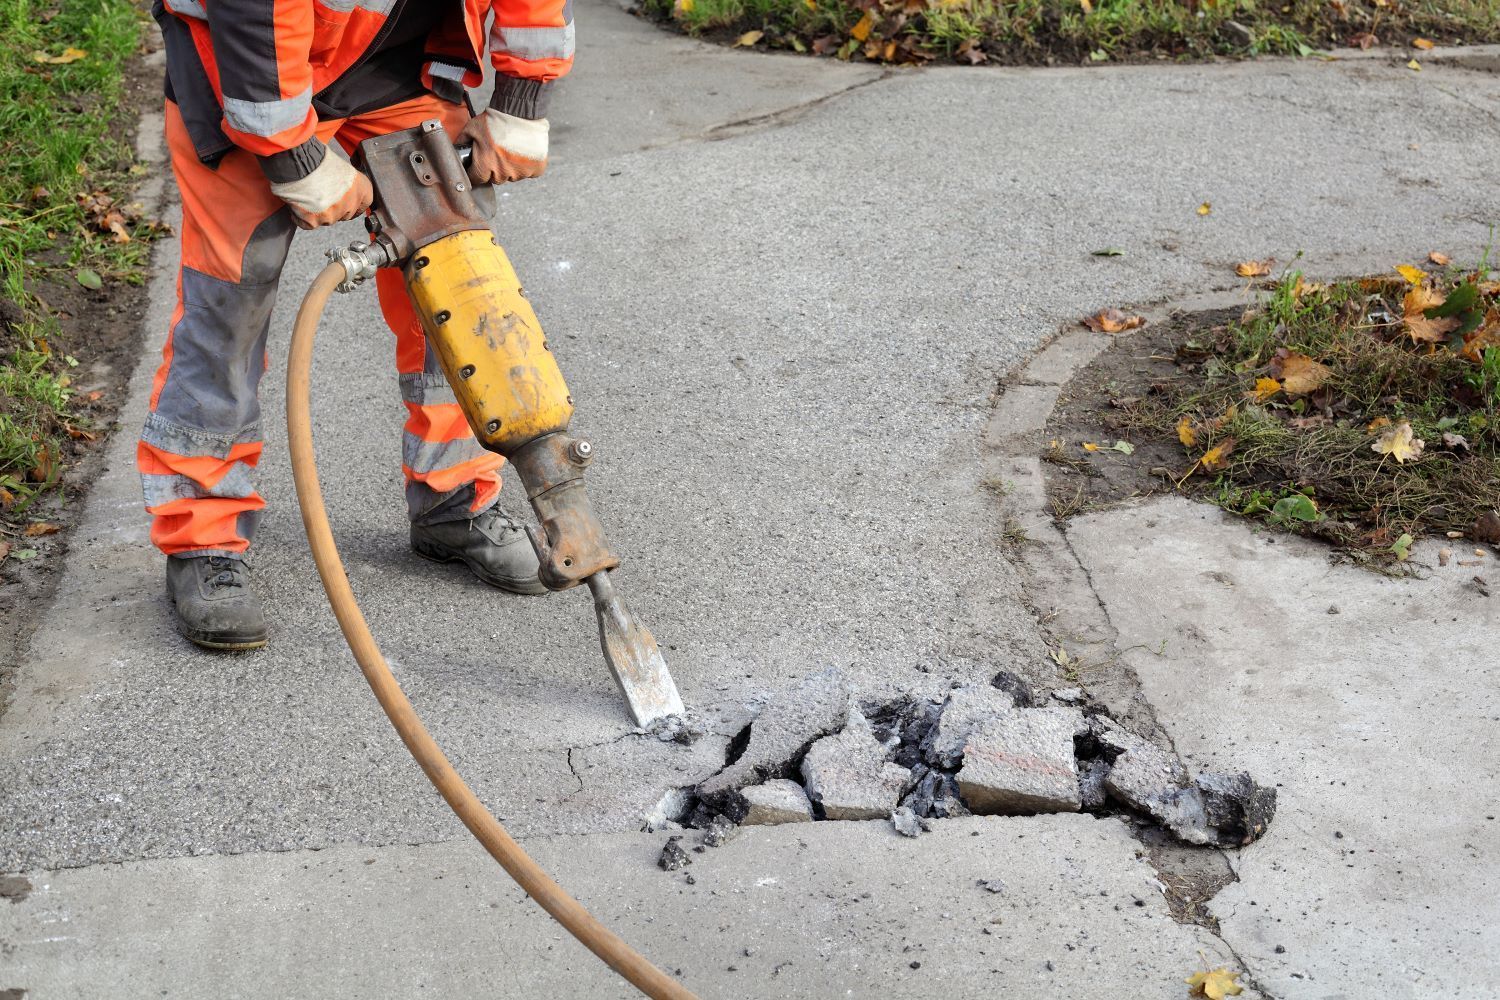
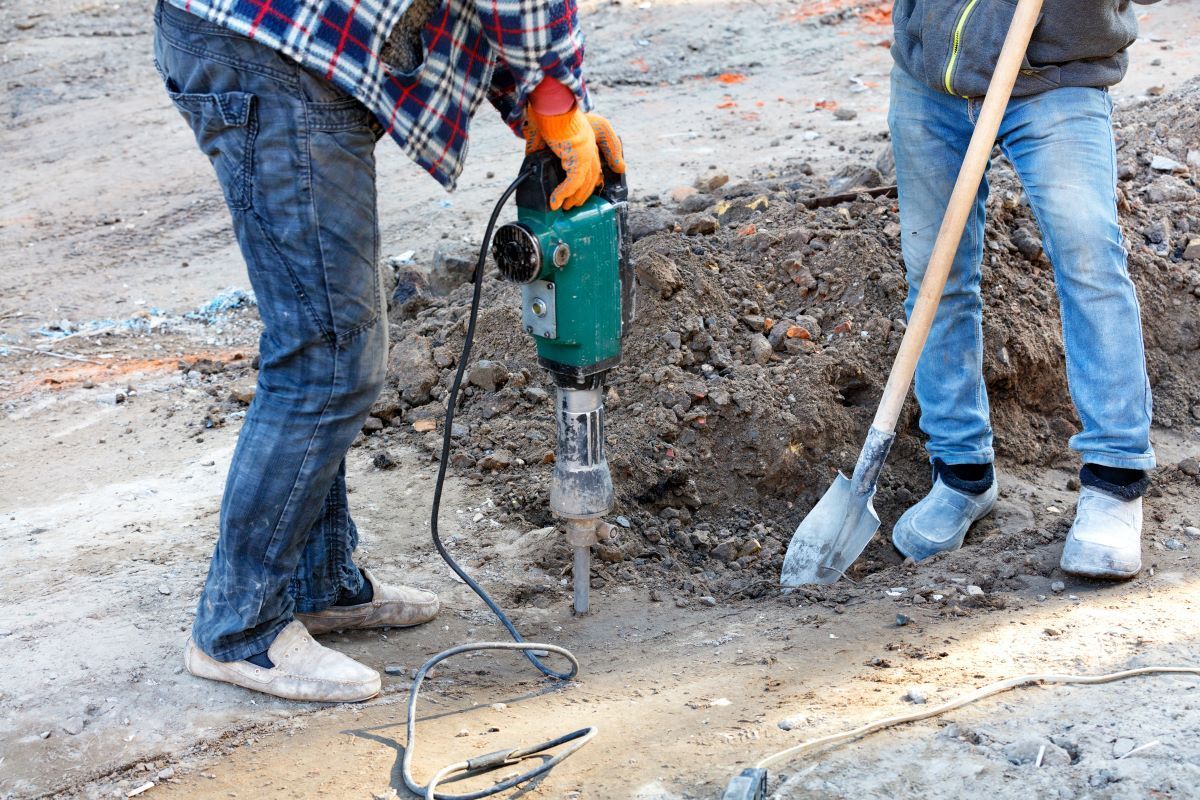
- Grinding or Sandblasting: These mechanical methods can be used when chemical stripping and power washing aren’t sufficient. Grinding and sandblasting are more aggressive and can be used on thick sealer build-up.
Step 3: Prepare the Surface and Apply Stripper (if using)
If using a chemical stripper:
- Choose the Right Stripper: Look for a solvent-based stripper that’s compatible with the type of sealer on your concrete.
- Apply the Stripper Evenly: Use a sprayer or brush to apply the stripper generously over the concrete surface, following the product instructions. Allow it to sit for the recommended time, typically between 15 minutes and an hour, depending on the thickness of the old sealer.
- Scrub the Surface: After the sealer has softened, use a stiff-bristled broom or scrub brush to help lift the sealer from the concrete.
Step 4: Power Wash and Rinse
Once you’ve scrubbed the sealer, it’s time to remove it:
- Power Wash the Concrete: Use a high-powered pressure washer to blast away the sealer and stripper residue. This step helps ensure that all the sealer is thoroughly removed.
- Repeat if Necessary: Some sealers are more stubborn than others. If you notice spots where the sealer remains, repeat the process as needed to ensure a clean surface.
Step 5: Let the Concrete Dry Completely
After you’ve finished removing the old sealer, allow the concrete to dry thoroughly. This could take up to 48 hours, depending on the humidity and temperature. Proper drying ensures that the new sealer adheres well and provides even coverage.
Step 6: Apply the New Sealer
With a clean, dry surface, you’re ready to apply the new sealer:
- Choose the Right Sealer: Consider the environment and type of concrete. For instance, if your concrete is exposed to heavy moisture (as is common in St. John’s climate), a penetrating sealer can provide better moisture resistance.
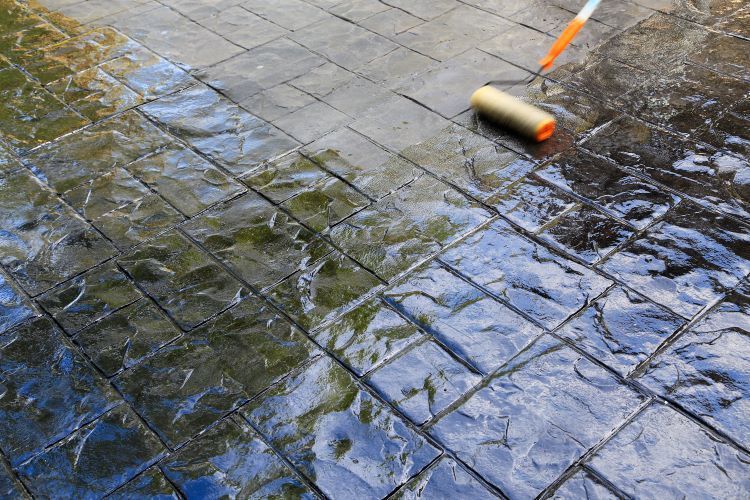
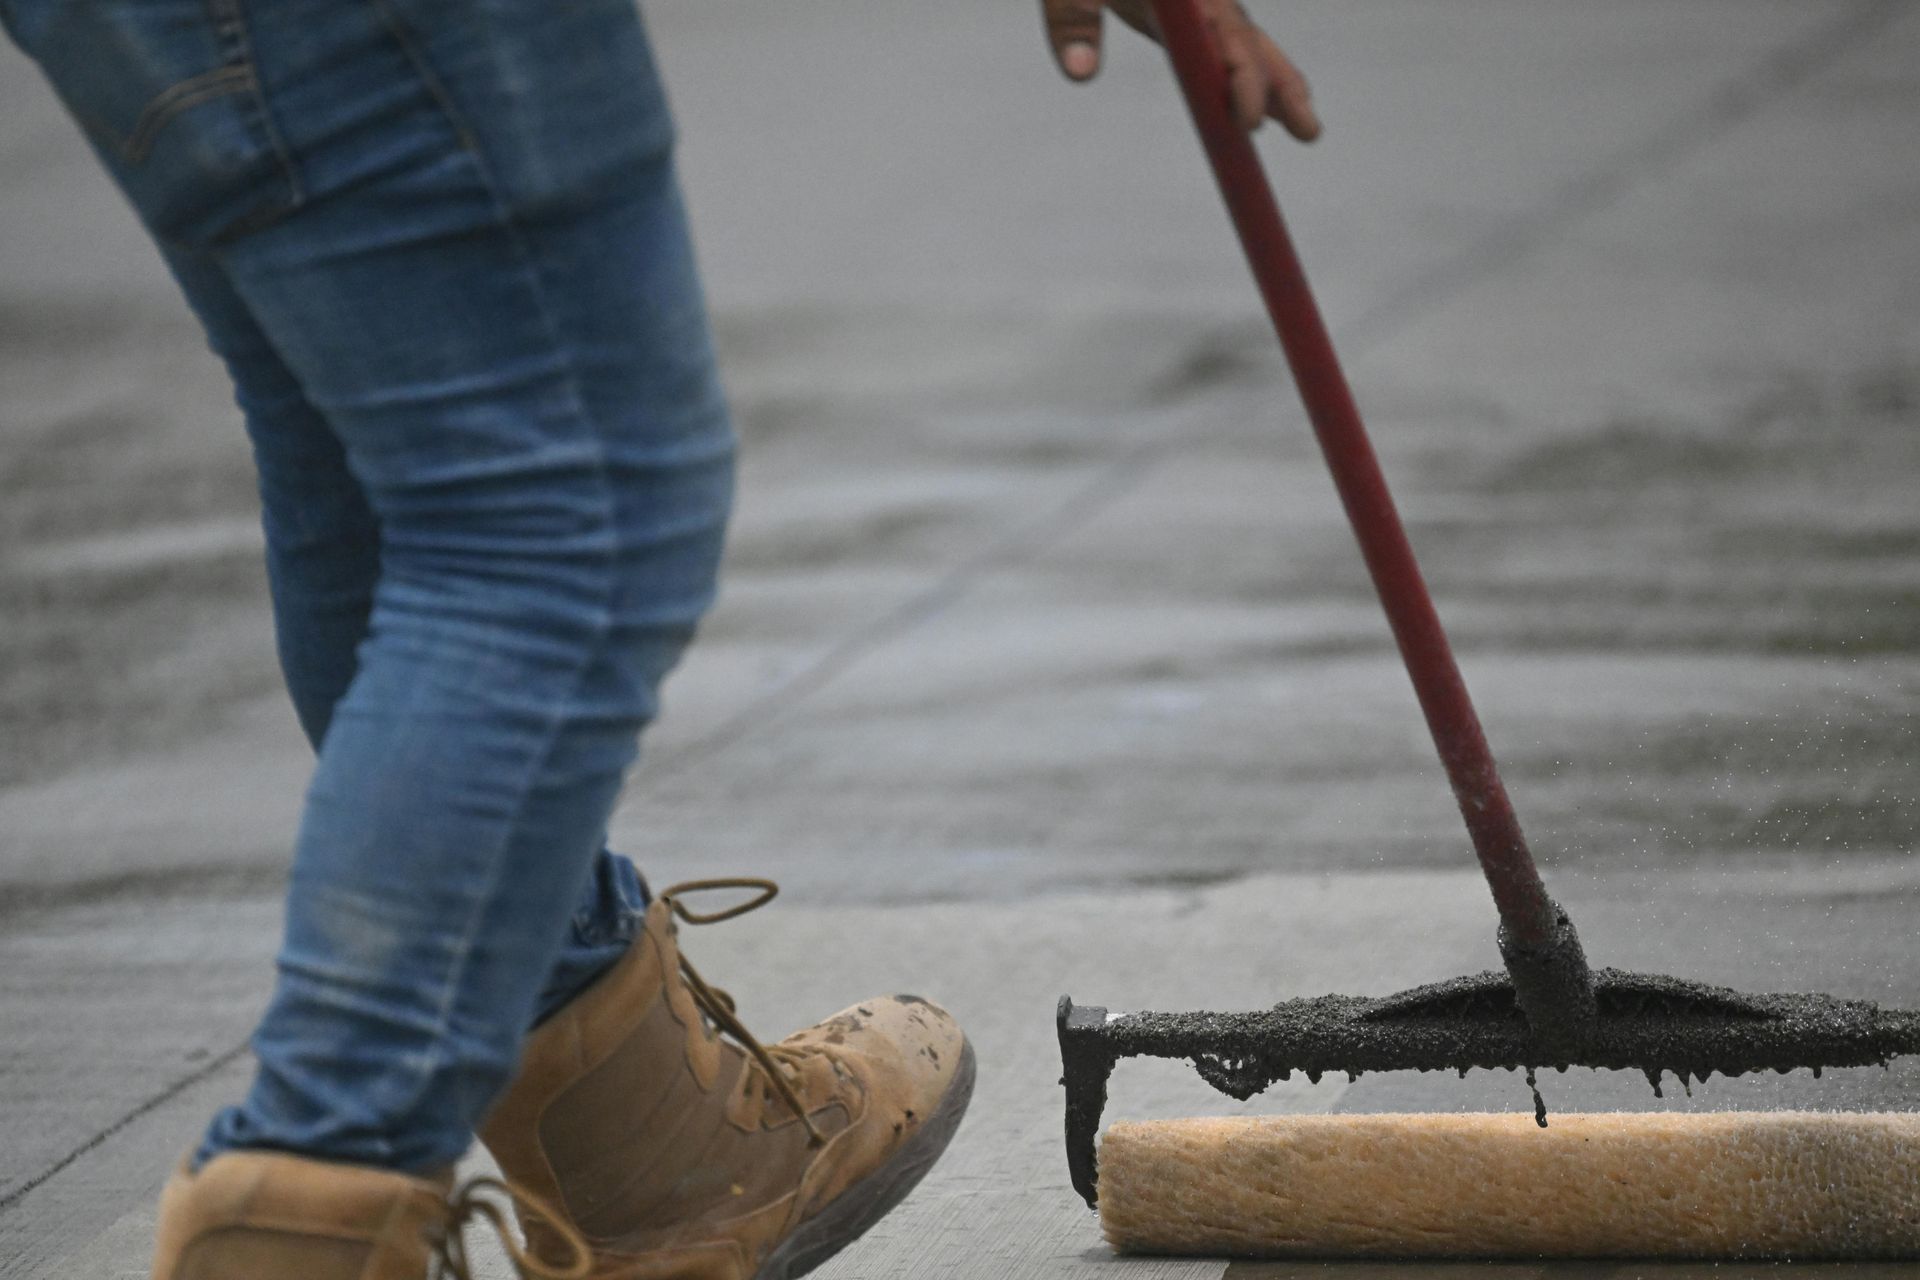
- Apply Evenly: Use a sprayer, roller, or brush to apply the sealer evenly. Start with a thin layer and add additional coats as recommended by the manufacturer, allowing adequate drying time between coats.
Tips for a Successful Concrete Sealing Job
- Follow Manufacturer Instructions: Every sealer has unique application and drying instructions. Adhering to these will help achieve a durable, high-quality finish.
- Avoid Humid Days for Application: Moisture can interfere with the sealer’s ability to bond to the concrete, so try to apply the sealer on a dry, sunny day.
- Consider Professional Help for Large Areas: For expansive concrete surfaces, hiring a professional can save time and ensure even application.
Conclusion
Removing old sealer from concrete before reapplying is an essential part of maintaining your concrete’s durability and appearance. By following the steps above, you’ll prepare your concrete surface effectively, allowing the new sealer to perform its best. Concrete Contractors St. Johns is here to assist with all your concrete needs, from stripping old sealers to applying new ones, ensuring your surfaces are protected and looking great year-round.